Search Constraints
You searched for:
Subject Terms literary theme
Remove constraint Subject Terms: literary themeSearch Results
801
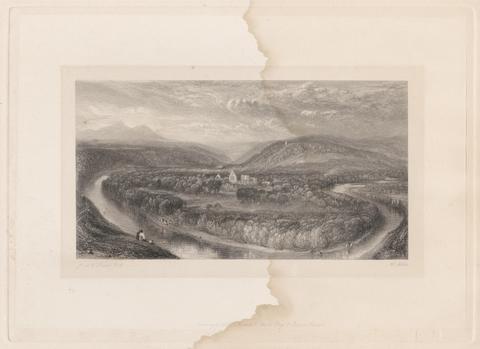
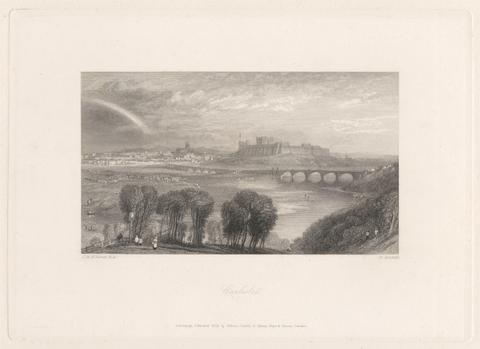
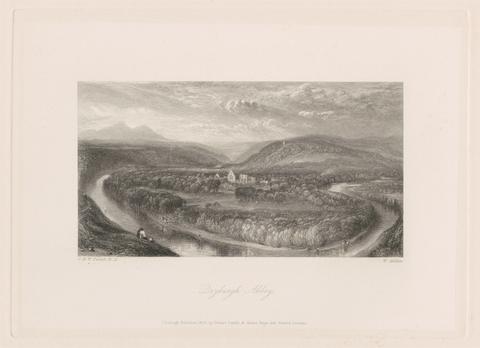
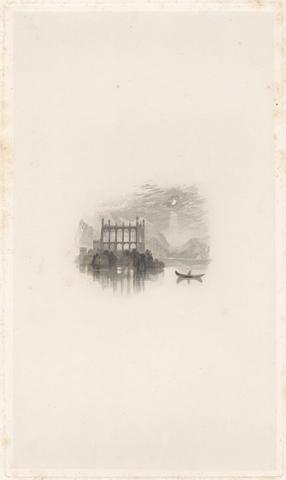
- Dryburgh Abbey
- 1833

802
- Procris and Cephalus
- 1864
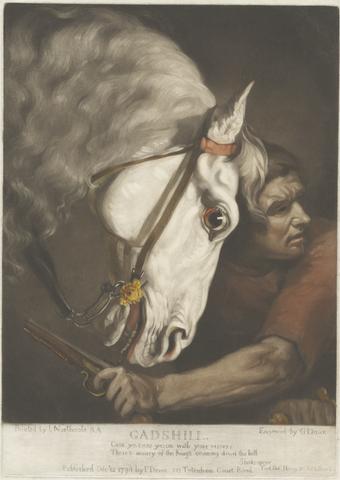
803
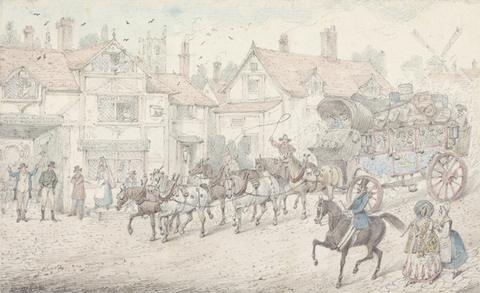
- Gadshill
- 1796

804
- A Plate from Orlando Furioso: Depicting Orlando and Rodomont Fighting
- 1773
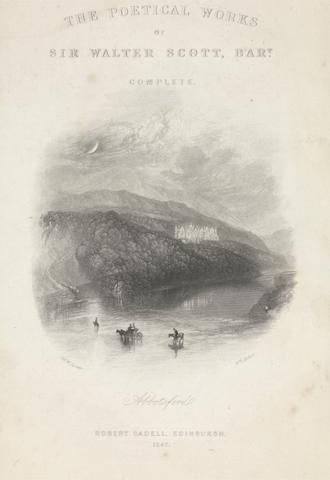
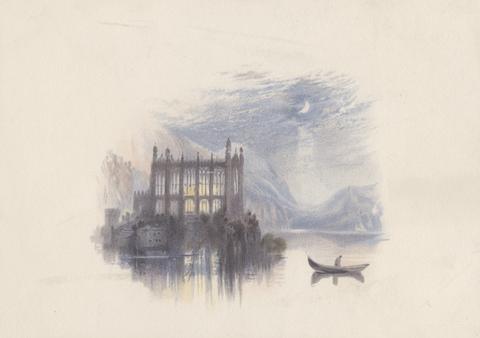
805
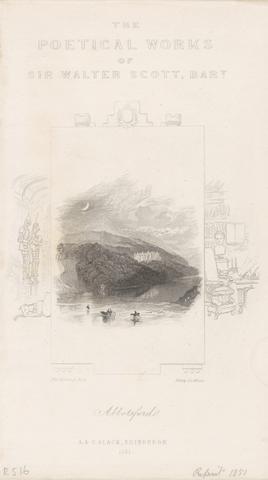
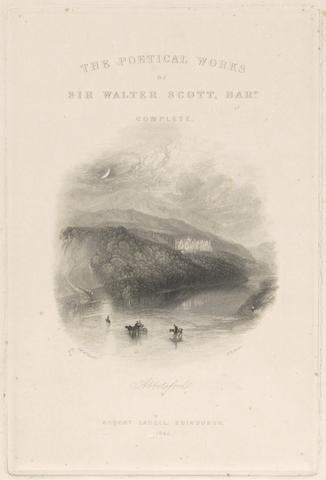
- Abbotsford
- 1841
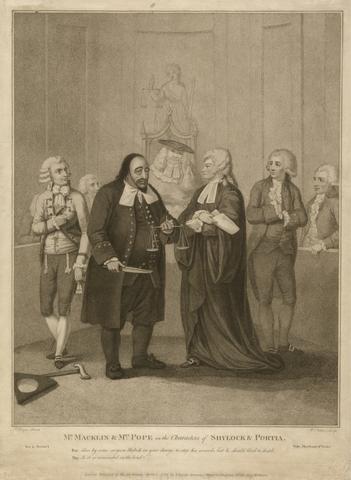
806
- Mr. Macklin and Mrs. Pope in the Characters of Shylock and Portia
- 1789
807
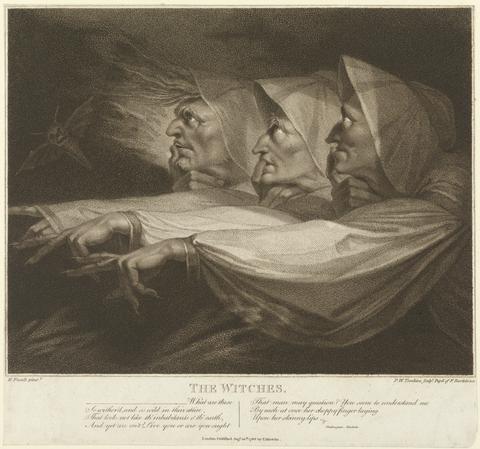
- The Three Witches
- 1786
808
- 'Henry IV, Part I,' Act IV, Scene II
- undated

809
- 'Henry IV, Part I,' Act III, Scene III
- undated
810
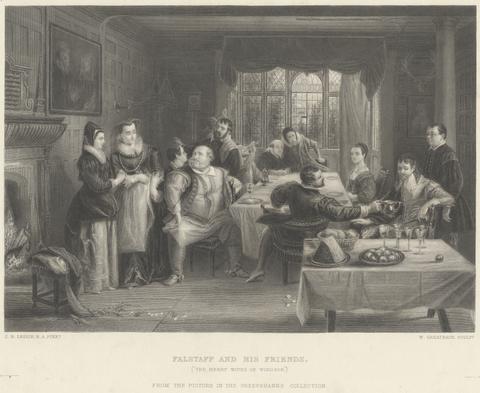
- Falstaff and his Friends
- ca. 1868
811
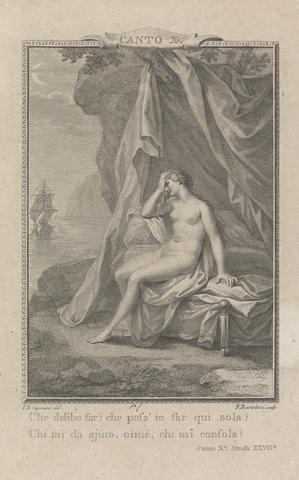
- Illustration from Orlando Furioso: "Che deb'bo sar? che poss'io sar qui sola? / che mi da ajuto, oime, che mi consola?"
- 1773
812
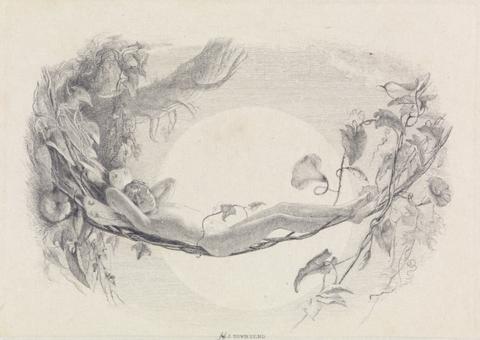
- Where the Bee Sucks. The Tempest, Act V, Scene I, Ariel on a Hammock of Convolvulus
- 1853

813
- David Garrick in the Character of 'Kitely'
- 1769
814
- St. Herbert's Chapel
- 1884
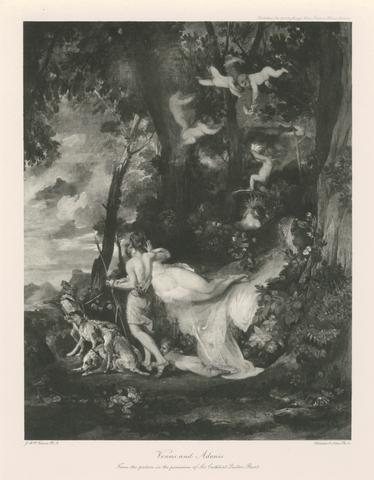
815
- Venus and Adonis
- 1900
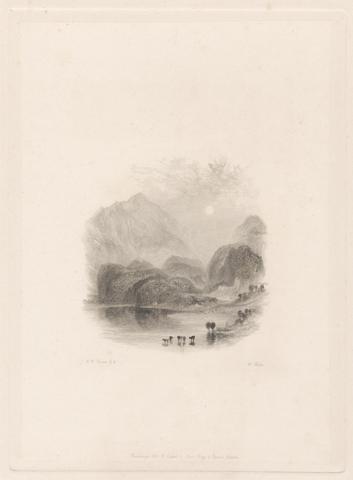
816
- Loch Achray
- 1834
817
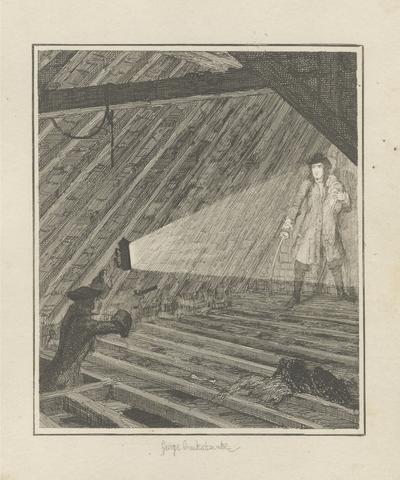
- Jonathan Wild Discovers Darrell in the Loft
- 1835
818
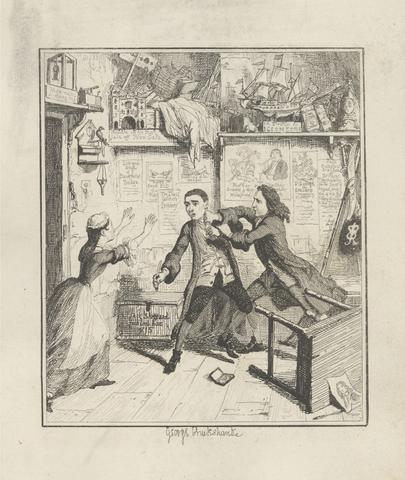
- Mr. Wood Offers to Adopt Little Jack Sheppard
- 1835
819
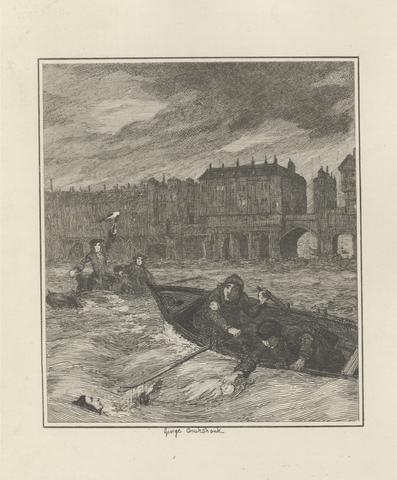
- The Murder on the Thames
- 1839
820
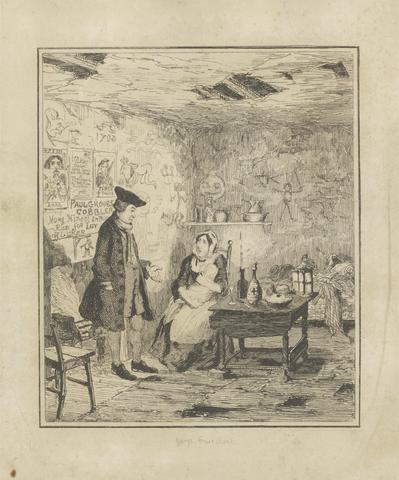
- Mrs. Sheppard Expostulating with her Son
- 1839
821
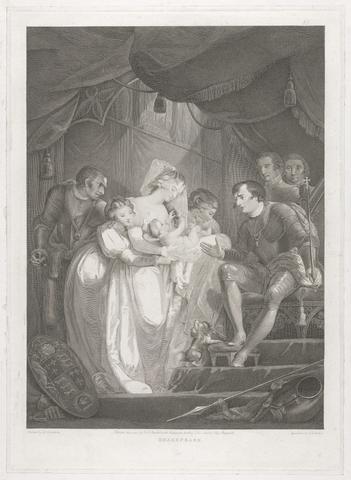
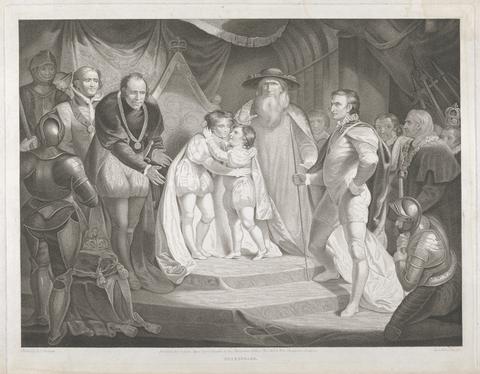
- King Henry VI, Part III: Act V, Scene VII (Queen Bess Presenting King Edward . . . with Their Infant Son)
- 1791
822
- Jack Sheppard Exhibits a Vindictive Character
- 1835
823
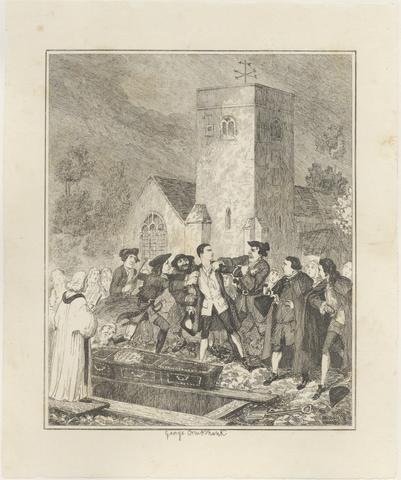
- Jonathan Wild Seizing Jack Sheppard at his Mother's Grave in Willesden Church Yard
- 1839

824
- Grandpapa's Story or The Witches Frolick
- 1838
825
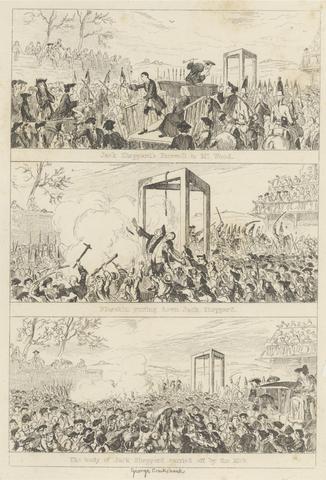
- The Last Scene: 'Jack Sheppard's Farewell to Mr Wood / Blueskin cutting down Jack Sheppard / The Body of Jack Sheppard carried off by the Mob'
- 1839

826
- Jack Sheppard Gets Drunk and Orders his Mother off
- 1839
827
- Jack Sheppard Committing the Robbery in Willesden Church
- 1839
828
- Audacity of Jack Sheppard
- 1839
829
- "May I be Cursed," muttered Jack Sheppard, "if ever I try to be honest again!"
- 1839
830
- King Richard the Second, Act V, Scene II (The Entrance of King Richard & Bolingbroke into London)
- 1801
831
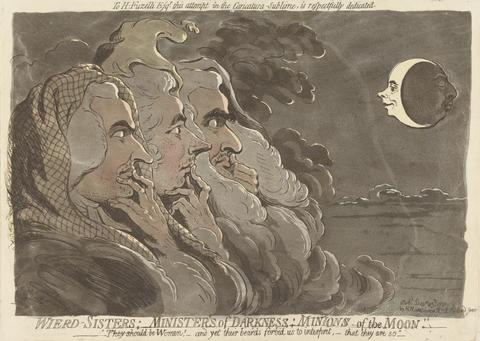
- Weird Sisters; Ministers of Darkness; Minions of the Moon (Thurlow, Pitt, and Dundas)
- 1791
832
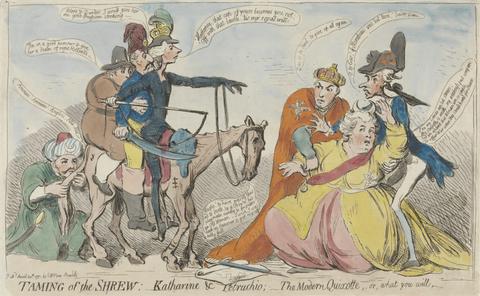
- Taming of the Shrew. Katharine and Petruchio - The Modern Quixotte, or, What You Will
- 1791
833
- Jonathan Wild Throwing Sir Rowland Trenchard Down the Well-Hole
- 1839

834
- Jack Sheppard's Escape from the Cage at Willesden
- 1839
835
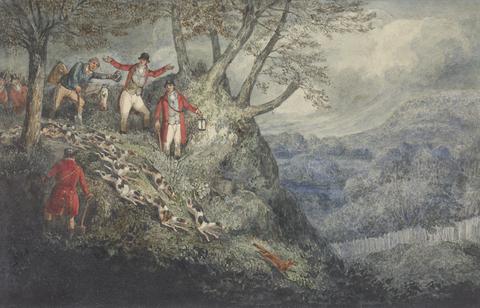
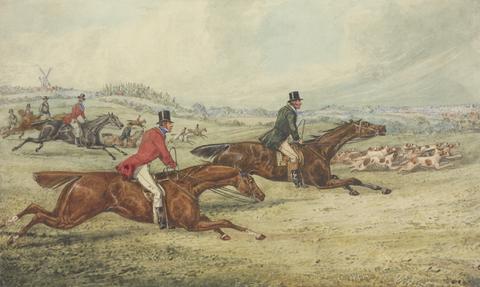
- An Illustration of C.J. Apperley ('Nimrod'), "The Life of a Sportsman": 'A Night Scene with Sir Thomas Mostyn'
- 1842
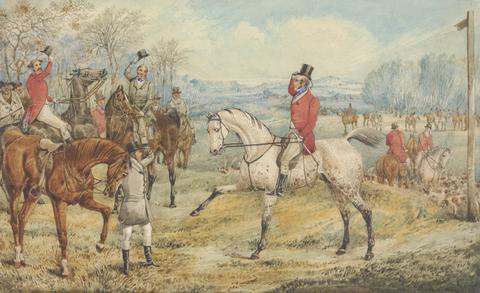
836
- Illustration for R.S. Surtees', "The Analysis of the Hunting Field": The Meet: 'With Bright Faces and Merry Hearts'
- undated
837
- Illustration to R.S. Surtees', "Jorrocks's Jaunts and Jollities:" 'Mr. Jorrocks Renounces the Acquaintance of the Yorkshireman'
- undated
838
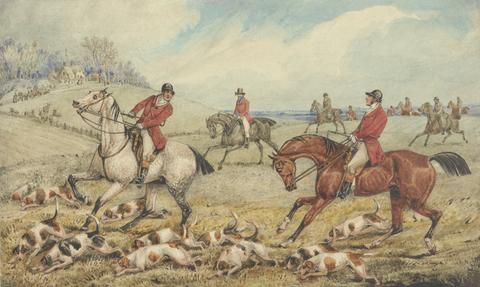
- Illustration for R.S. Surtees', "The Analysis of the Hunting Field": The Check: 'What the Devil Do You Do Here..'
- undated
839
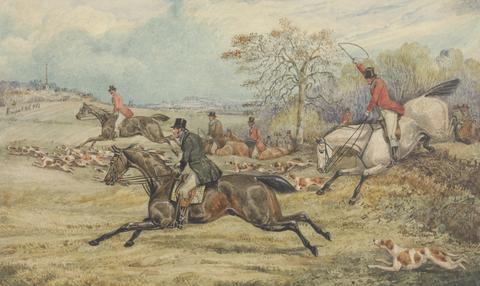
- Illustration for R.S. Surtees', "The Analysis of the Hunting Field": Getting Away: 'Let's Take the Lead'
- undated
840
- Illustration to R.S. Surtees', "Jorrocks's Jaunts and Jollities": 'Mr. Jorrocks Takes a Ride at St. Cloud'
- undated
841
- Illustration to R.S. Surtees', "Jorrocks's Jaunts and Jollities": 'Mr. Jorrocks Beats the Baron for Speed'
- undated
842
- Illustration to R.S. Surtees', "Jorrocks's Jaunts and Jollities": 'Lift me Up! Tie me in my Chair! Fill my Glass'
- undated
843
- Illustration to R.S. Surtees', "Jorrocks's Jaunts and Jollities": "Water, I do Declare with Worms in it"
- undated
844
- Illustration to R.S. Surtees', "Jorrocks's Jaunts and Jollities": 'Mr. Jorrocks's Surprize on Seeing the Paris Diligence, "My Vig, Here's Wombwell's Wildbeast show" '
- undated
845
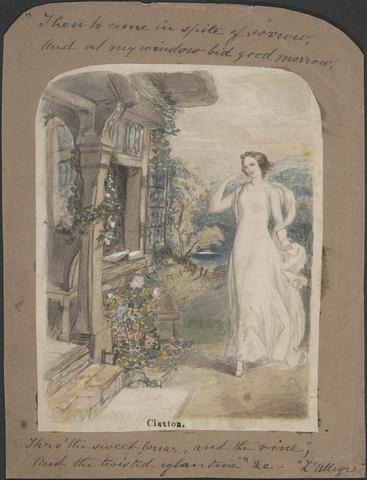
- L'Allegro
- undated
846
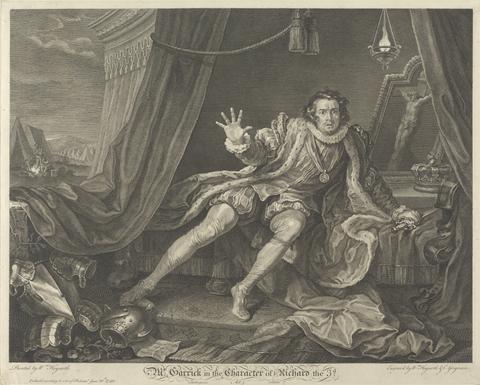
- Mr. Garrick in the Charakter (sic) of Richard the 3D
- 1746
847
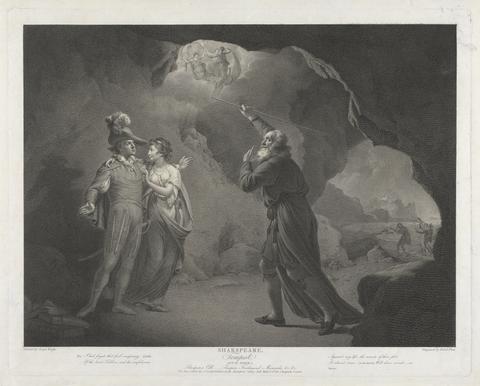
- Shakespeare's Tempest Act IV Scene I. Prospero's Cell
- 1800

848
- Twelfth Night, Act III, Scene IV: Olivia's House
- 1803
849
- Jack Sheppard Accuses Thames Darrell of the Theft
- 1839
850
- Jack Sheppard's Irons Knocked off in the Stone Hall at Newgate
- 1839
851
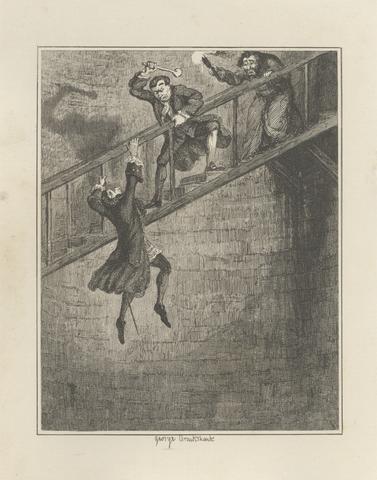
- The Name on the Beams
- 1839
852
- Twelfth Night, Act V, Scene I: The Street
- 1803
853
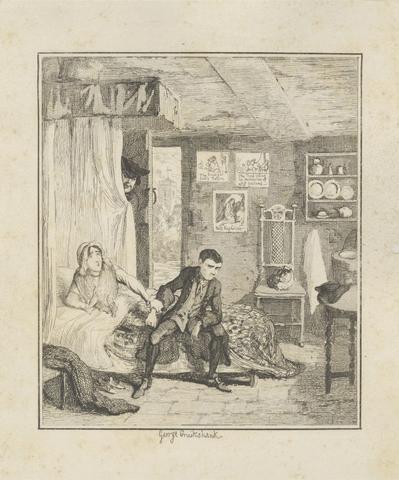
- Jack Sheppard and Blueskin in Mr. Woods Bedroom
- 1839
854
- Mr. Kean as Othello

855
- The Lover
- 1824
856
- The Infant
- 1824
857
- Here Nature List'ning Stood
- 1795
858
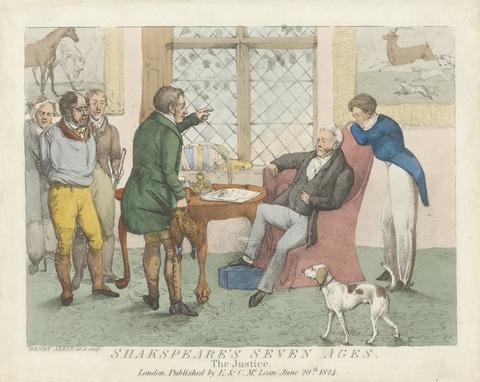
- The Justice
- 1824
859
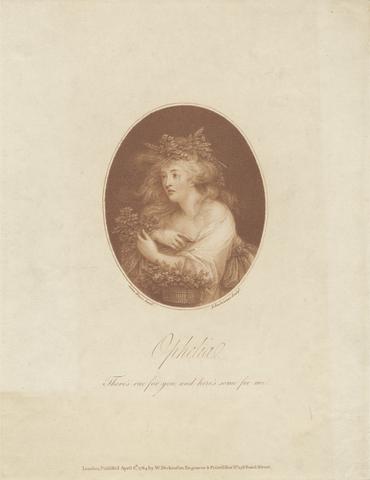
- Ophelia: There Is Rue for You and Here's Some for Me
- 1784
860
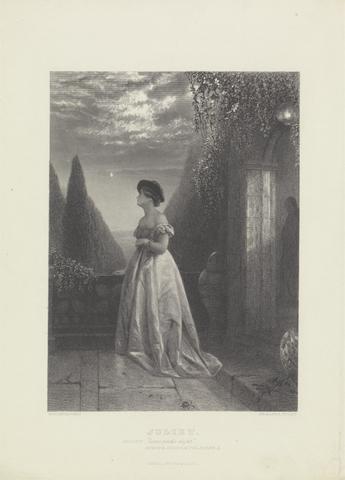
- Come Gentle Night: "Romeo and Juliet," Act III, Scene II
- between 1839 and 1849
861
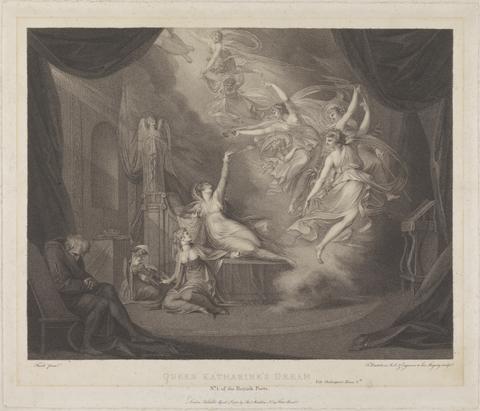
- Queen Katherine's Dream - "Henry VIII"
- 1788

862
- The Young Roscius
- 1804
863
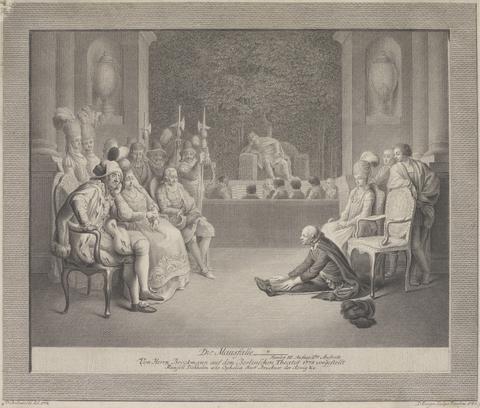
- Die Maussalle.... - "Hamlet," Act III, Scene II
- between 1778 and 1780

864
- Mr. W. J. Hammond and Miss Daly as Othello and Desdemona at the New Strand Theatre
- undated
865
- "Here, I and sorrows sit; here is my throne, bid kings come and bow to it"
- 1802
866
- "Then go, bid the huntsmen wake them with their horns"
- 1802
867
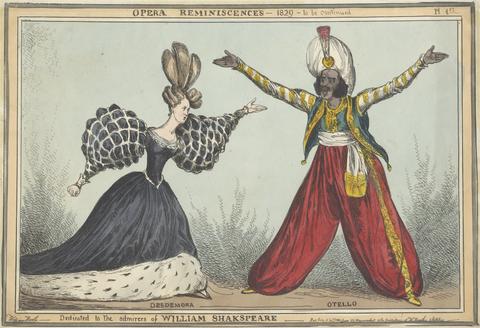
- Opera Reminiscences: Desdemona and Otello
- 1829
868
- Mr. G. V. Brooke as Othello and James Bennett as Iago - 'Othello,' Act III, Scene III
869
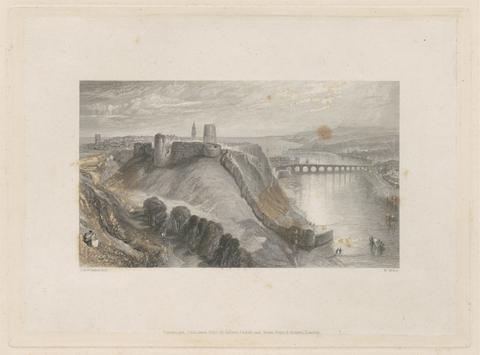
- Carlisle
- 1834
870
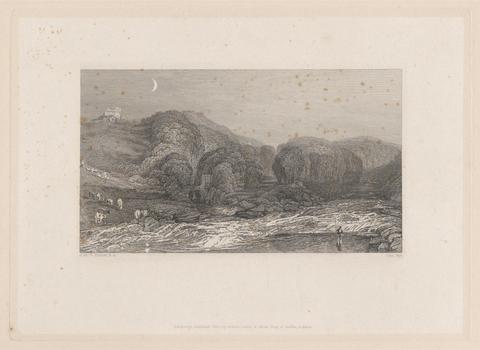
- Loch Achray
- 1834
871
- Berwick-upon-Tweed
- 1834
872
- Berwick-upon-Tweed
- 1834
873
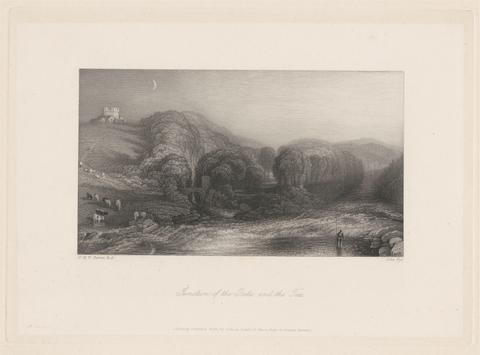
- Junction of the Greta and the Tees
- 1834
874
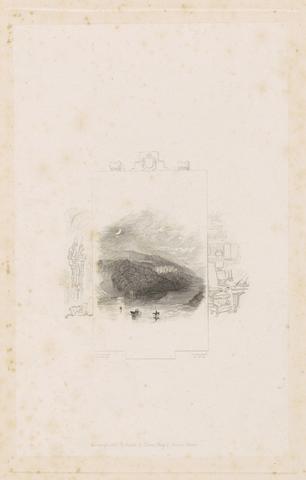
- Abbotsford
- 1834
875
- Abbotsford
- 1834, reprinted 1851
876
- Junction of the Greta and the Tees
- 1834
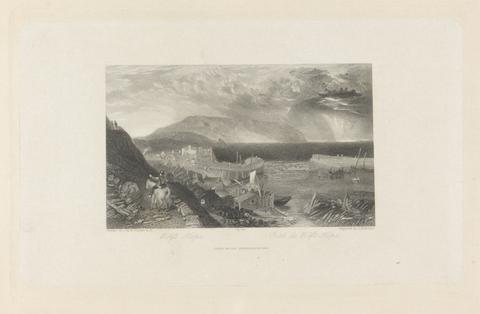
877
- Wolf's Hope
- 1836
878
- Loch Achray
- 1853 reprint
879
- Junction of the Greta and the Tees
- 1834
880
- Carlisle
- 1834
881
- Sandy Knowe, or Smailholm Tower
- 1839
882
- Sandy Knowe, or Smailholm Tower
- 1839
883
- Dryburgh Abbey
- 1834

884
- Abbotsford from the Northern Bank of the Tweed
- 1839
885
- Abbotsford
- 1841
886
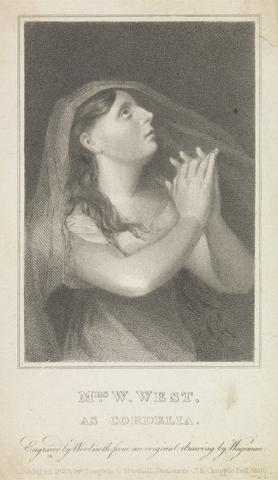
- Mrs. W. West as Cordelia
- 1820
887
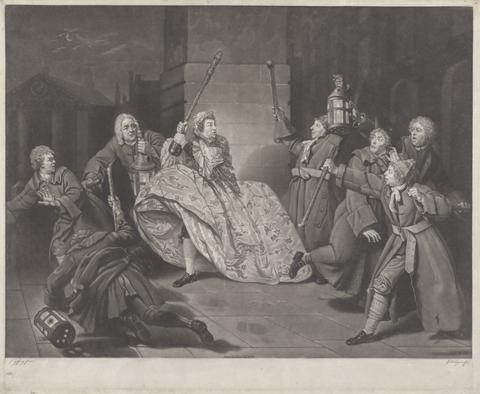
- David Garrick as Sir John Brute in Act IV, the Drunken Scene, in Vanburgh's 'The Provok'd Wife'
- 1768
888
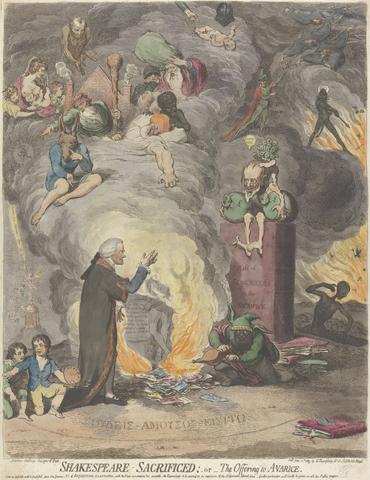
- Shakespeare Sacrificed; or, The Offering to Avarice
- 1789
889
- Sin, Death, and the Devil
- 1792
890
- Mr. Garrick and Mrs. Pritchard, in the Tragedy of 'Macbeth.' Act II. Scene III
- 1776
891
- Life School at the Royal Academy
- 1773
892
- Romeo and Juliet: Act IV, Scene III (A Monument Belonging to the Capulets)
- 1791
893
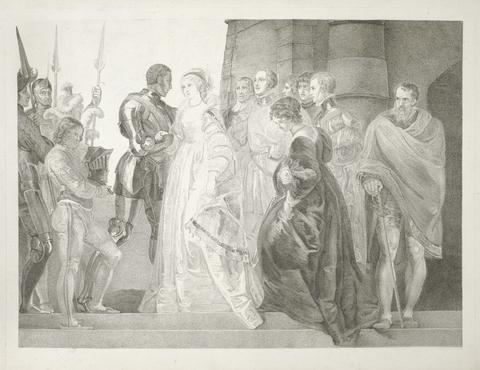
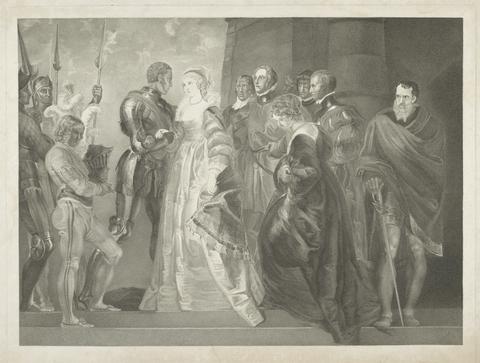
- King Richard III: Act III, Scene I (The Meeting of Edward V and His Brother, Richard, Duke of York)
- 1789
894
- Othello, Act II, Scene i, A Platform --- Desdemona, Othello etc
- 1803
895
- Othello, Act II, Scene I, A Platform -- Desdemona, Othello etc
- 1803
896
- Illustration for R.S. Surtees', "The Analysis of the Hunting Field:" Full Cry: 'Let's Keep the Lead'
- undated
897
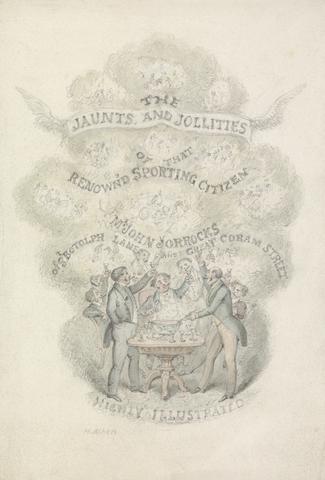
- Illustration to R.S. Surtees', "Jorrocks's Jaunts and Jollities": Title page
- undated
898
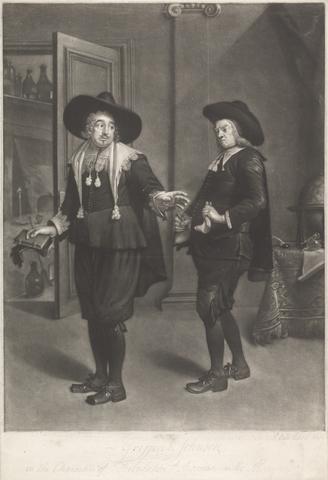
- Griffin and Johnson
- 1748
899
- St. Herbert's Chapel
- 1834

900
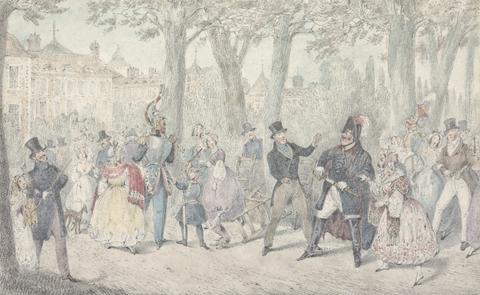
- A Scene From the Farce of "The Critic," a Little Altered
- 1848